In “How to Make a Time-lapse Video: Part One,” I walked you through the gear and settings I recommend for anyone getting into creating time-lapse videos from still photos. Now let’s move on to how to edit the photos you’ve shot and combine them into a video clip.
EDITING IN LIGHTROOM
Although there are many ways to edit the photos, I like to use Adobe Lightroom Classic CC.
To begin, import all of the photos from the shoot. I like to edit one image in the series and then sync those edits to the rest of the stills. I begin with the Develop module’s Basic sliders, playing with the White Balance and Tint until the color looks neutral, then moving on to the Tone sliders. I use a light hand with the Shadow, Highlights, and Clarity sliders—overdoing it here increases the chance of getting flicker in the time-lapse.

Begin with Lightroom’s Basic sliders.
The HSL sliders let you individually shift colors by changing the Hue, Saturation, and Luminance. I sometimes shift these values to highlight a color. Be careful moving the Luminance slider too much, as it can reduce the quality.
In the Detail drop-down, I add 20 to 30 points of Sharpening. The Noise Reduction amount can vary. If the images are super-grainy, you may add 50 to 60 points, but if the images are somewhat clean, you can use less or none. If you shot with a very high ISO setting, you might see color noise. To remove it, try adding 25 points to the Color slider under Noise Reduction. In Profile section of the Lens Corrections drop-down, you can add your lens and remove distortion or vignetting. Check the Remove Chromatic Aberration box to take care of weird colorizations around edges of contrast in your photos.
After you’ve handled these essentials, you may want to use the Radial and Graduated filters to create a vignette or add brightness or colors to certain areas. You can set the effect’s location and the feather amount, and change other aspects with sliders in a drop-down menu. Play around with adding areas or darkness, brightness, saturation, and contrast. You can also add effects with the Adjustment Brush.

I recommend playing with Lightroom’s Radial and Graduated filters.
Once you’re happy with the single image, switch to the Library module. Right-click on the image thumbnail and go to Develop Settings > Copy Settings. To be sure the edits look good across the series, paste the settings on a few photos captured at different times by right-clicking on a shot and going to Develop Settings > Paste Settings. If you don’t like the results, Undo the action, make a few adjustments to your original image, and try again.
To copy the single-image edits to all photos in the time-lapse, go to the Library module and make a selection of all the thumbnails by holding Shift and selecting them all. The image that is displayed must be the one you made the edits on. Now right-click on any of the other images and go to Develop Settings > Sync Settings.

Sync Settings is easier to do than to explain.
Finally, export the images from Lightroom by selecting them and going to File > Export, then specifying a folder for the exported files. (Give that folder a unique name, and don’t put any other files in it.) Go to the File Settings drop-down menu and set JPEG to 100 quality and color space to sRGB. Click Export and wait until the process is done before you leave Lightroom.
COMBINING IN AFTER EFFECTS
To transform the edited photos into a time-lapse video, open After Effects CC, make a new project file, and click File > Import > File, then navigate to your folder with the stills. Click on the first image in the sequence and check the JPEG Sequence and Force Alphabetical Order boxes. Your time-lapse pops up in the project library. Right-click on the filename and click New Comp from Selection.

The Import window in After Effects.

You will see the composition created under the JPEG Sequence. Right-click on that and choose Composition Settings. I do everything in 4K, which is 3840 x 2160; you may prefer regular HD input, which is 1920 x 1080. You can also change your frame rate. I like the look of time-lapses at 30FPS, but some people prefer 24FPS.
Once you click OK, you’ll see the frame in the window change the crop. You can edit this by dragging in the corner points of the time-lapse, or you can click on the small drop-down triangle shown (marked in the screenshot below with a red arrow) to change the position, scale, and rotation.

The red arrow marks an important drop-down.
If you want to add a zoom effect to your time-lapse, make sure the blue marker is at the first frame of your time-lapse, then click on the stopwatch icon next to scale. This lets you add animations or Keyframing. A blue diamond icon will pop up in your time-lapse by the marker. You can change the size of the scale by increasing or decreasing the number to the right of scale. This will be your starting frame size for the time-lapse. Then scroll to the end of your timeline with the blue marker. If you change the scale value once more, it will automatically add another blue diamond keyframe (where your marker is set at the end of the timeline) to specify the last frame and size of your time-lapse animation. If you make your frame smaller than before, it will be a zoom-out animation. If your scale is larger on the last frame, it will be a zoom-in animation. After Effects will animate all of the frames in between these two keyframes, creating the animation-zoom effect.

Change the scale to have a zoom-in or zoom-out animation.
If your time-lapse has camera shake, use the Warp Stabilizer VFX effect (Effects & Presets Distort > Warp Stabilizer VFX). To apply the effect, drag it onto your time-lapse or onto the window. (It might take a few minutes.) You can also explore other effects, such as Color Correction.
When you’re done with the time-lapse, it’s time to export it as a video file. Go to File > Export > Add to Render Queue. A new box will open, showing you the render queue and giving you some different options. First click on Output to and specify a location, then select a name and click Save. Next, move to Output module and click on the blue text next to it. A new dialog box will open.

After Effects' export options.
To export this time-lapse in a lossless format on a Mac, use Format: QuickTime, and in Format Options, select ProRes 4444 or ProRes 422. (4444 is the highest possible quality, but I use 422 for most things if I want to re-edit the time-lapses.) On a PC, there is no ProRes option, so choose QuickTime with Animation Codec.
If you don’t plan to add the time-lapse to a larger video, you can use a Web-ready format. Click File > Export > Export to Adobe Media Encoder. A new program will open and your file will pop up in the queue. Go to the first blue text under Format and choose H.264, then click on the blue text under Preset. When the new dialog box pops up, use one of the YouTube or Vimeo presets for posting online. Manually check the Width and Height underneath, as well as the frame rate. Lastly, check the Use Maximum Render Quality box and click OK. Make sure you’ve specified your output folder and click the green arrow at the top-right of the Media Encoder interface.
When you’re ready for more advanced time-lapses editing, you may want to try the program LRTimelapse, which lets you edit and animate effects with Lightroom. It can also deflicker day-to-night shots. But first, give yourself time to practice the basics and get to know the Adobe software. You’ll have fun and learn a lot!
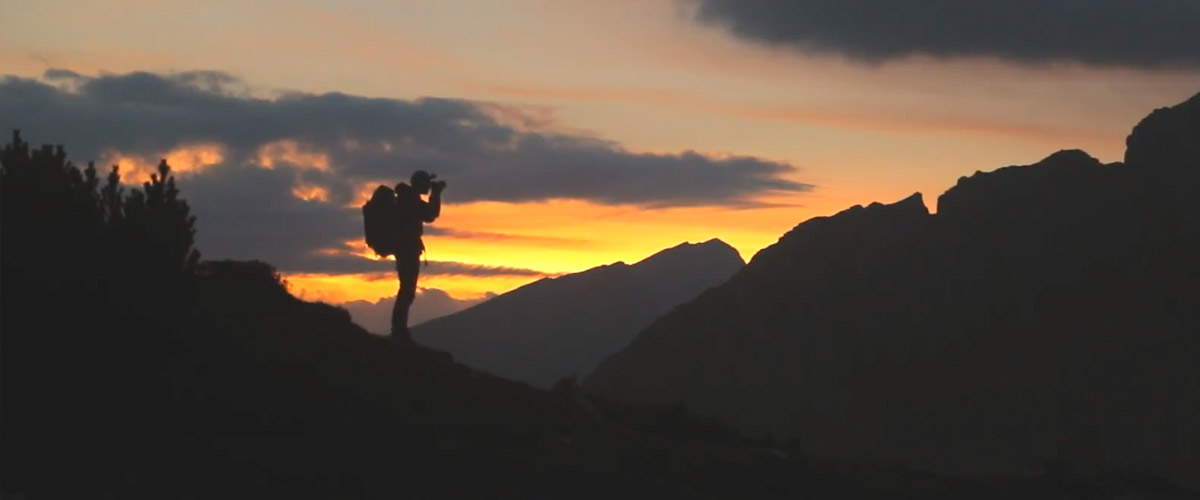
I shot this time-lapse in in northern Italy’s Dolomites mountains. Where will time-lapses take you?
For more on my trip to the Dolomites, visit my website.