Using Adobe Capture CC, you can turn a simple sketch into a brush. Start from scratch, or download practice files for a head start.
Click on the image to play the video; written steps are below.
PREP YOUR PROJECT
1. Save the practice image (source-image.jpg) we provided to your mobile device’s camera roll, or use your own image.
2. Download the Adobe Capture CC mobile app from the App Store for your iOS device, or from the Play Store for you Android. Open the app and sign in with your Adobe ID.
CREATE A CUSTOM BRUSH
1. Tap on Brushes in the top menu.
2. Tap on the image icon at the bottom; then tap on Camera Roll.
3. Choose an image from your Camera Roll.
4. Tap on areas to erase unwanted marks. Tap on the checkmark.
5. Drag the resize handles (white dots) to position the blue box around the part of the image you want to use as the brush.
6. Tap on Styles in the main menu. (Tip: For the example in the video, we chose a style in the Photoshop CC & Adobe Sketch Brushes section.)
7. Tap on Presets. Adjust the Size, Spacing, and other settings as you like. Tap on Done, or on the right arrow on Android devices.
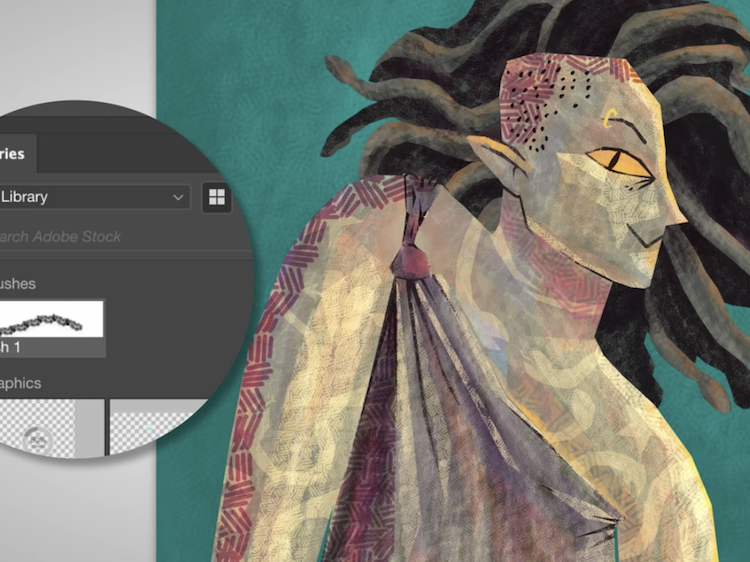
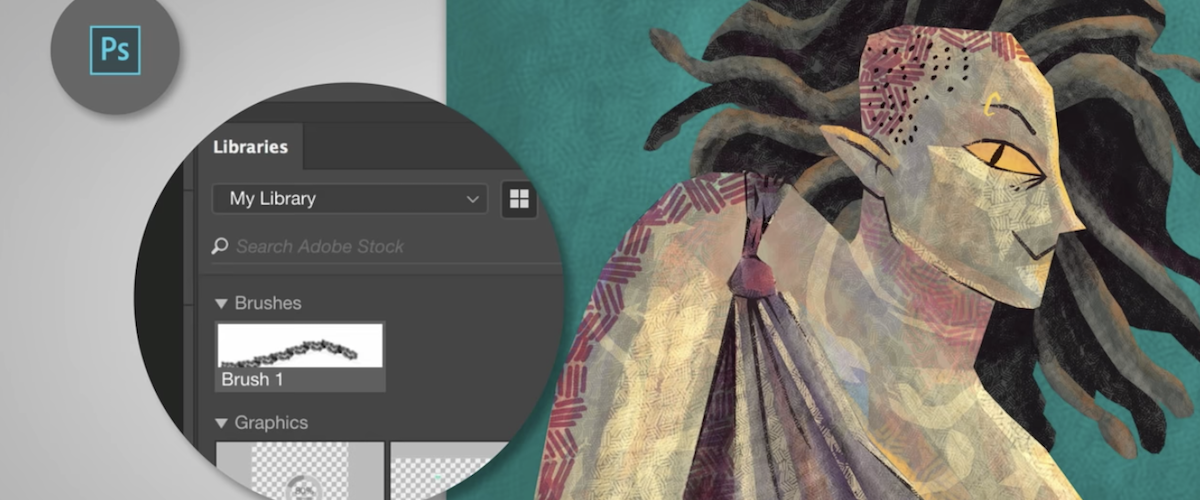
8. Choose the appropriate Creative Cloud Library. Tap on Save.
APPLY STYLE IN PHOTOSHOP
1. Open artwork in Photoshop.
2. Choose the Brush tool.
3. Choose your new brush from the Libraries panel (Window > Libraries).
4. Use the new brush to enhance your creation. That's it!
To learn more about Adobe Capture and Adobe’s other mobile apps, visit our Mobile Apps Tutorials page.
October 17, 2018