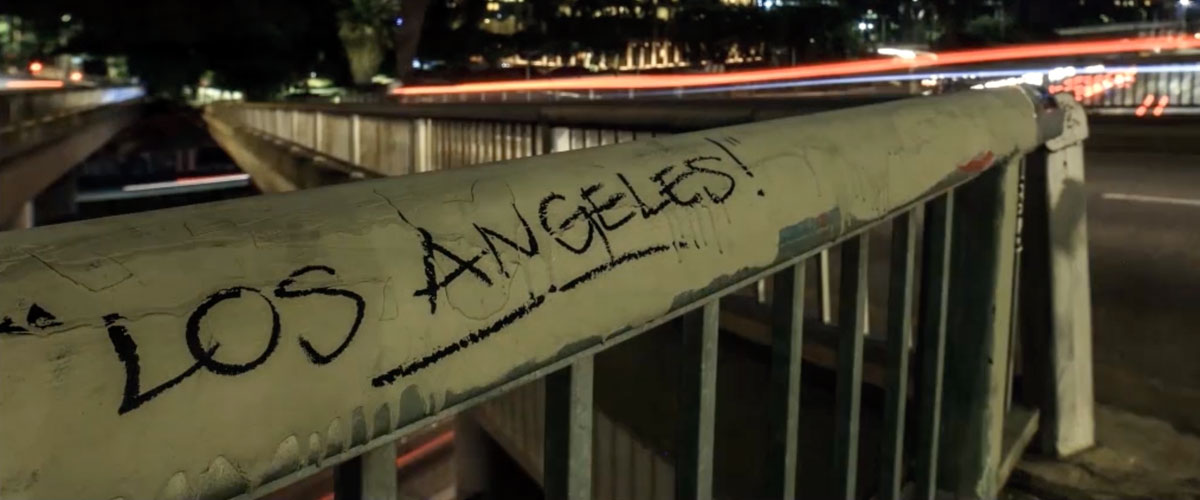
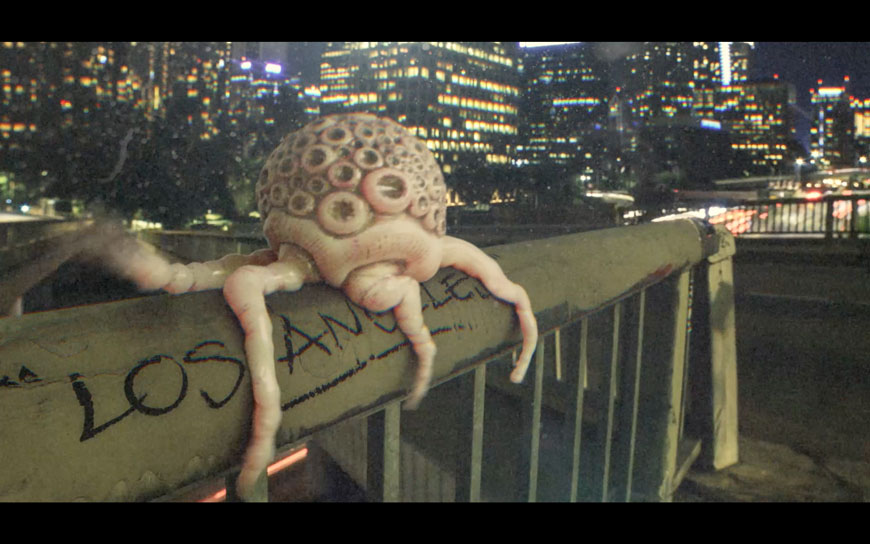
Even Los Angeles natives will admit that the city can be a little… weird. David Brodeur really leaned into that vibe when he created an alien organism that’s slurching its way into Tinsel Town.
Click to watch the combined video clip and 3D creature.
In the videos and text below, David walks you through his process, which begins with Adobe Stock footage he manipulates in Adobe After Effects CC.
PART 1
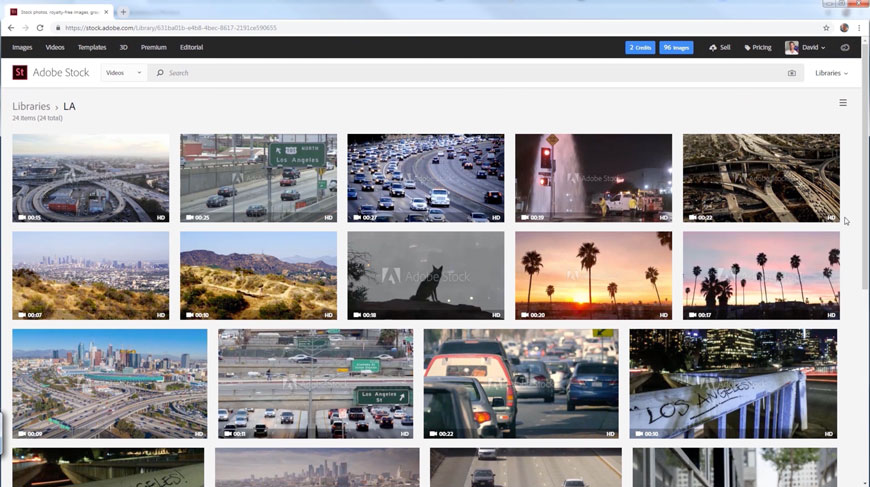
Scroll through Adobe Stock on a web browser. Create a library and begin adding videos to use for final animation.
This is the brainstorming phase to find the perfect video for your concept. To give the video interest, you want it to have some camera movement. However, so that the video composite isn’t too complex, avoid a lot of objects obstructing the focus point. Once you’ve find the right clip, license and download it.
PART 2
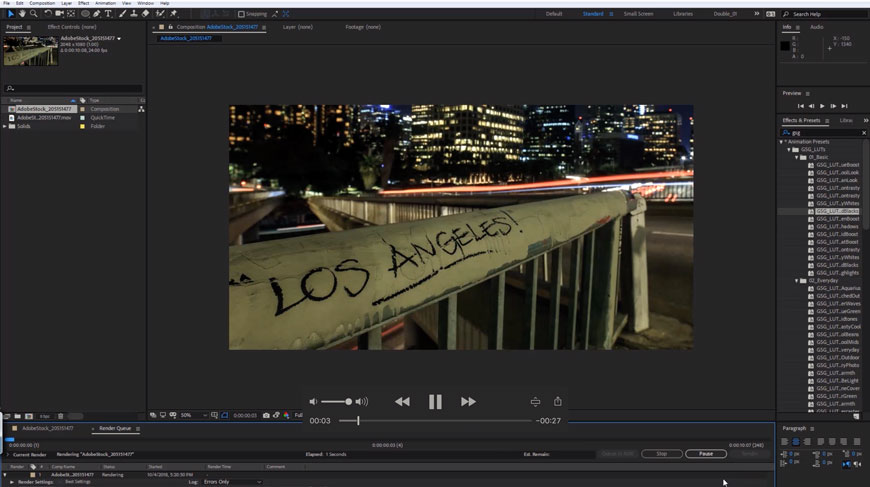
Open Adobe After Effects and import your Adobe Stock video.
Drag the video into a new composition and export as a jpeg sequence. This image sequence will be used to 3D motion track in Maxon Cinema 4D.
PART 3
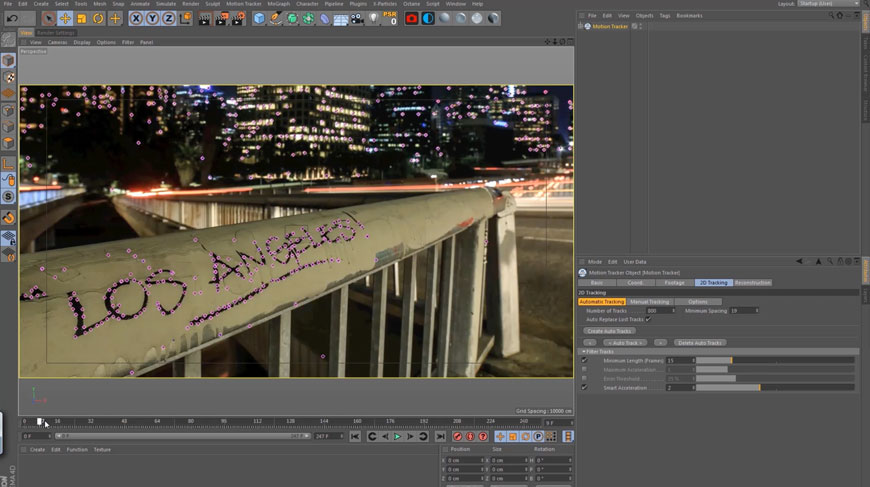
Run 3D solver. Begin modeling objects, lighting and texturing your scene where the tracking data is located.
Render your scene out of 3D as an image sequence and import back into Adobe After Effects.
PART 5
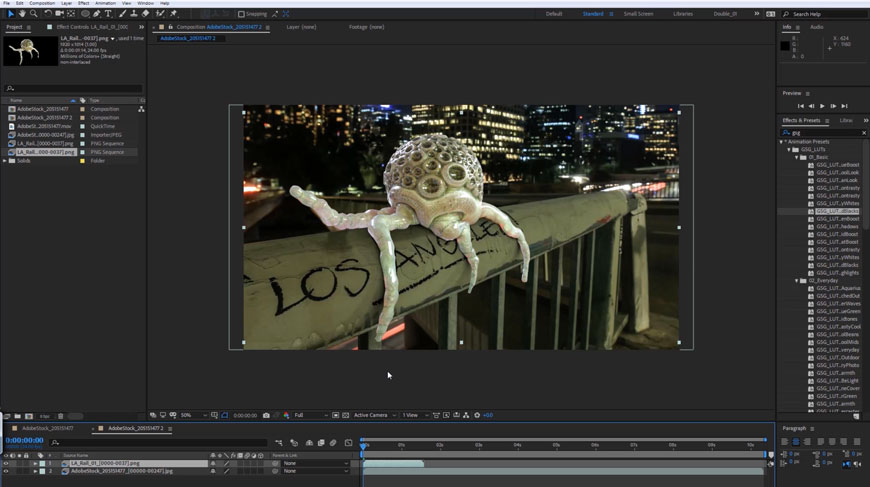
Drag the 3D rendered image sequence into a composition with the video footage from Adobe Stock.
Add compositing effects on top of the animation to blend the footage and 3D.
PART 6
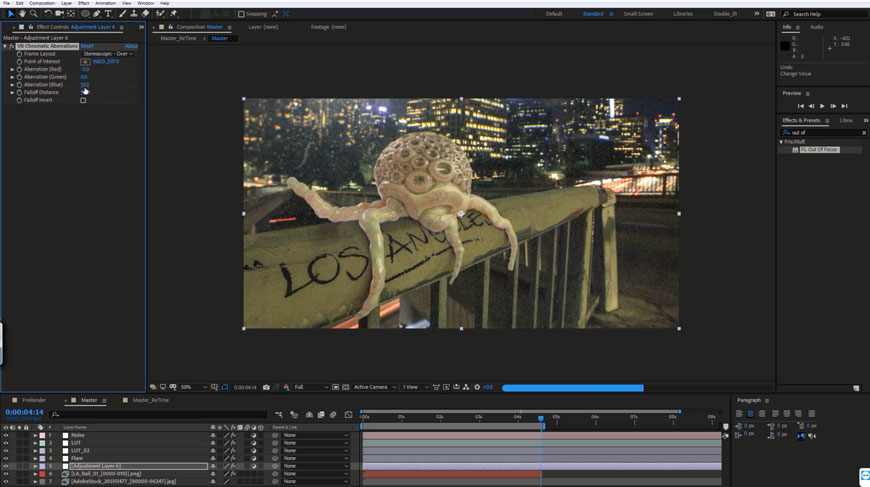
Add an adjustment layer and place a VR Chromatic Aberration Effect on it. Change the layout to Stereoscopic and adjust the distances as desired.
Add an adjustment layer and place the CC Force Motion Blur Effect on it. Adjust the Shutter angle to get your desired motion blur effect.
PART 7
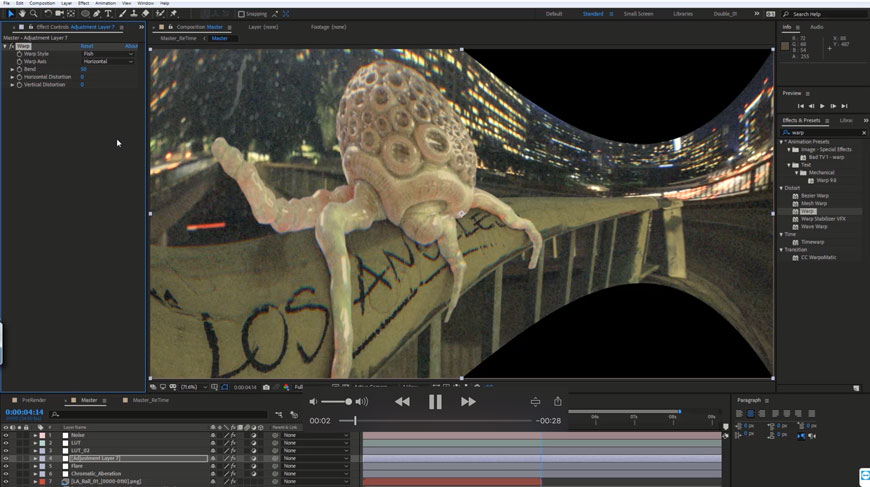
Add an adjustment layer and place Warp Effect on it. Change the setting to Fisheye and adjust the distortion accordingly. This will help blend your 3D with the footage by warping them as if they were shot with the same camera lens.
Add an adjustment layer and place Video Copilot’s Optical Flares plugin on it. Choose and customize a flare for your animation. This will again add another layer that will help blend your footage and 3D.
Add an adjustment layer and begin placing various After Effects Color Correction effects onto that layer and adjusting them to taste. If you have any LUT preset plugins, this is a good time to use them, as well. I used GSG LUT’s plugin for my color correction.
Create an adjustment layer and add a Grain effect to it. Adjust the intensity and the grain size to taste. This will be the top layer in the comp and help to blend everything together and give it a film aesthetic.
Finally, add your composition to the Media Encoder Queue and Export a movie file.
October 31, 2018