
You may be new to color grading video, or maybe you want to experiment with more creative uses of color in your productions. In both cases, an Adobe Premiere Pro CC feature called Color Match is your friend. It lets you quickly create a consistent look across your footage and match clips with different temperatures or exposures.
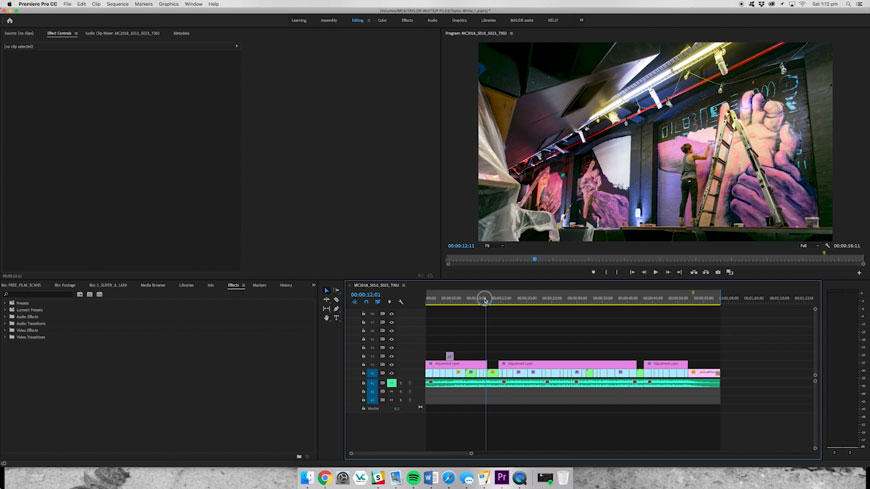
Click the image above to see the challenge posed by an unusual lighting environment.
Part 1

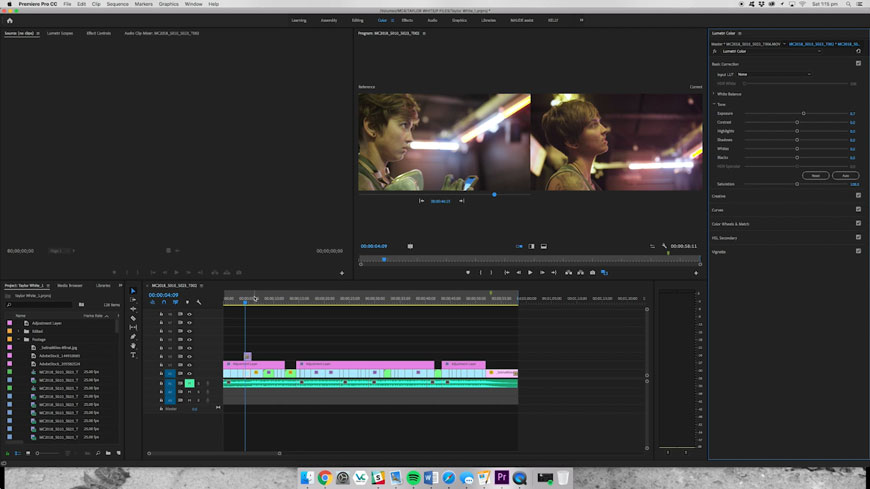
Click the image above to see the steps described below in action.
- Once your video is edited, click on the Color tab at the top of the screen. You will see the Lumetri control panel on the right.
- Select Color Wheels and Match.
- Select the clip in your timeline that you want to edit.
- Click the Comparison View button to bring up the Reference and Result monitors.
- Scroll in the Reference monitor until you find a clip you want to use as reference for the grade.
- Click Apply Match.
Part 2
Click the image above to watch the video.
- If the result is not perfect, you can fine-tune the look using the Basic Correction section.
- Apply to each clip in your timeline, making fine adjustments as you go.
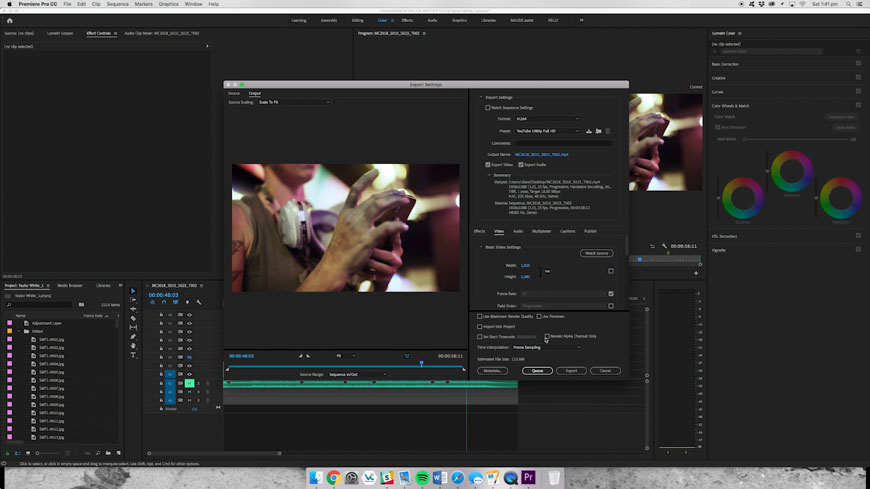
Click the image above to see the final step in the process.
Your color-graded clip is now ready to export and publish!
November 16, 2018