Step 1
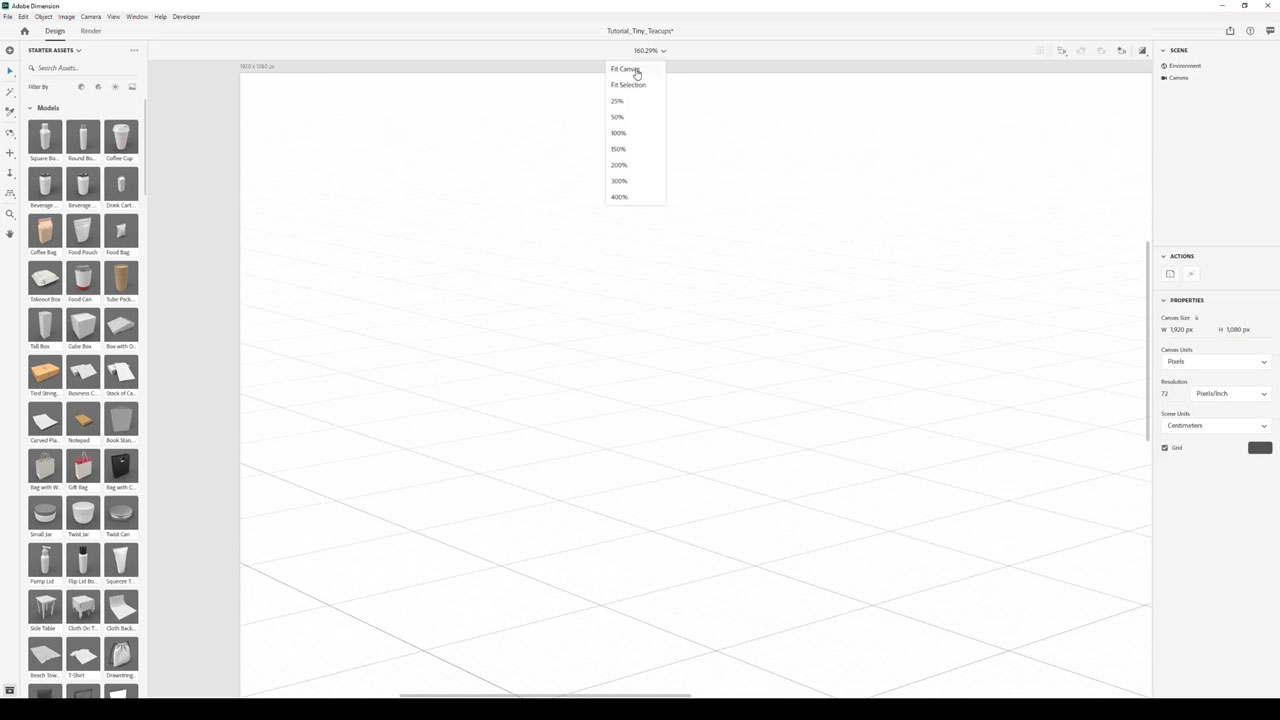
Open Dimension and select Create New to start a new scene. Set your canvas to 1920px x 1080px (the size of this composition) in the Properties Panel. You can then change the view percentage at the top of the canvas to Fit Canvas to see your entire working space.
Step 2
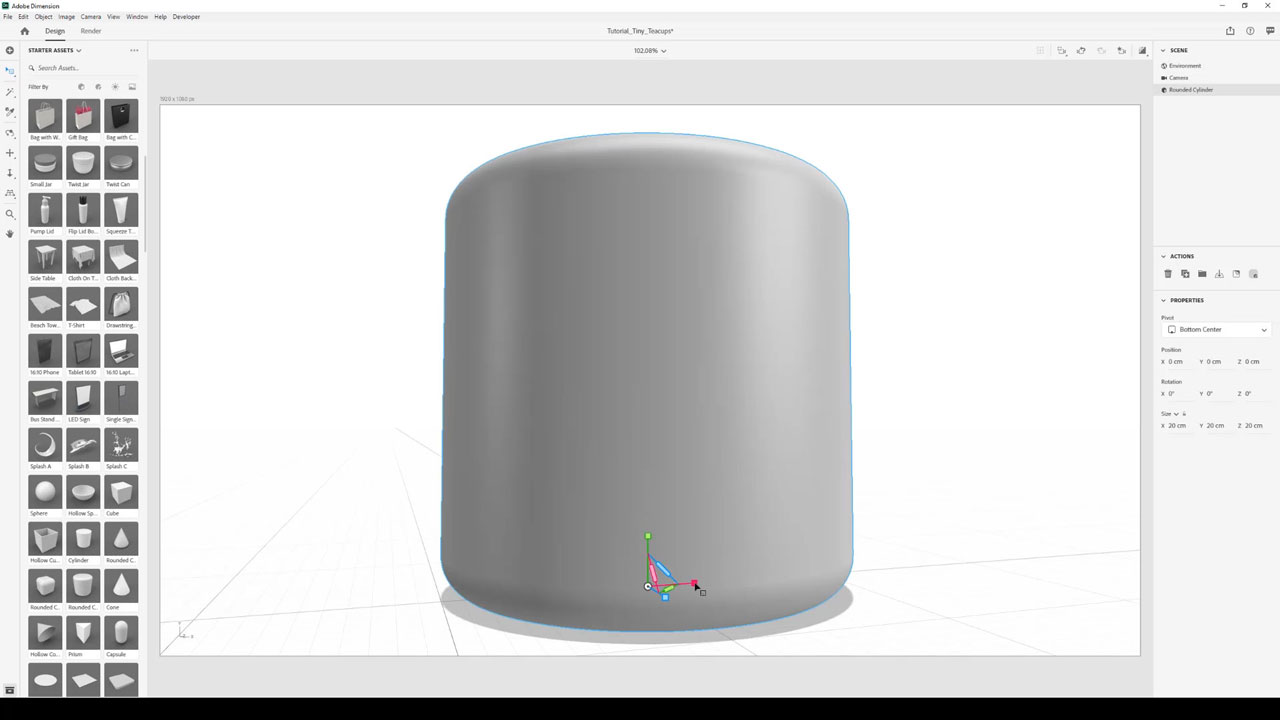
Navigate to the Asset Panel on the left and choose the Models filter (the cube icon at the top by Filter By). Click on the Rounded Cylinder model in the panel to add this asset to your scene.
Next, use the Scale Tool to adjust the cylinder size. It's in the Select Tool menu (or key command S). To scale the size of the model down, use the handles on the widget or you can also enter the exact size in the Properties Panel under Size (X = 7.6, Y = 5.0, Z = 7.6 cm).
Step 3
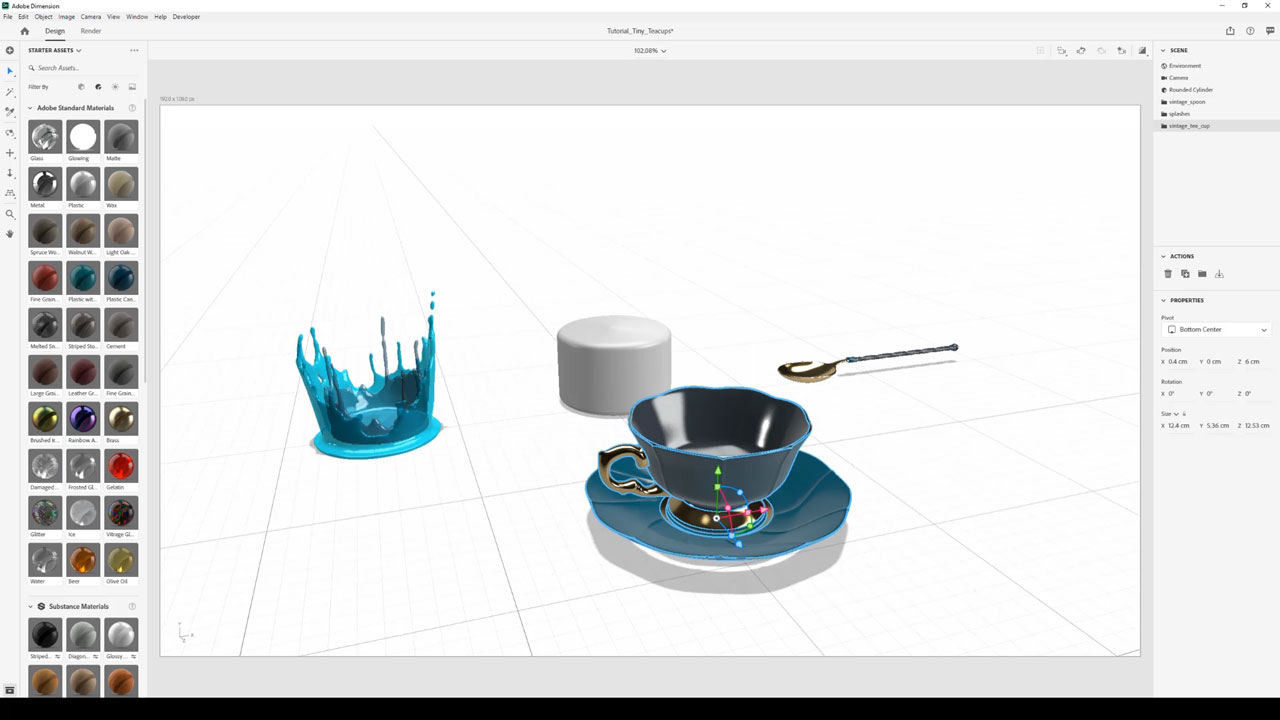
Now you're ready to add the three teatime models to your Dimension scene. If you haven't already, download all three assets from Adobe Stock. You can add your assets to the CC Libraries Panel or download the files directly to your desktop. To add the models from the desktop (as we did here), drag and drop the .obj file onto the canvas or go to File > Import > 3D Model. For now, add the models anywhere in the scene; if they're intersecting, move them until they're not.
Step 4
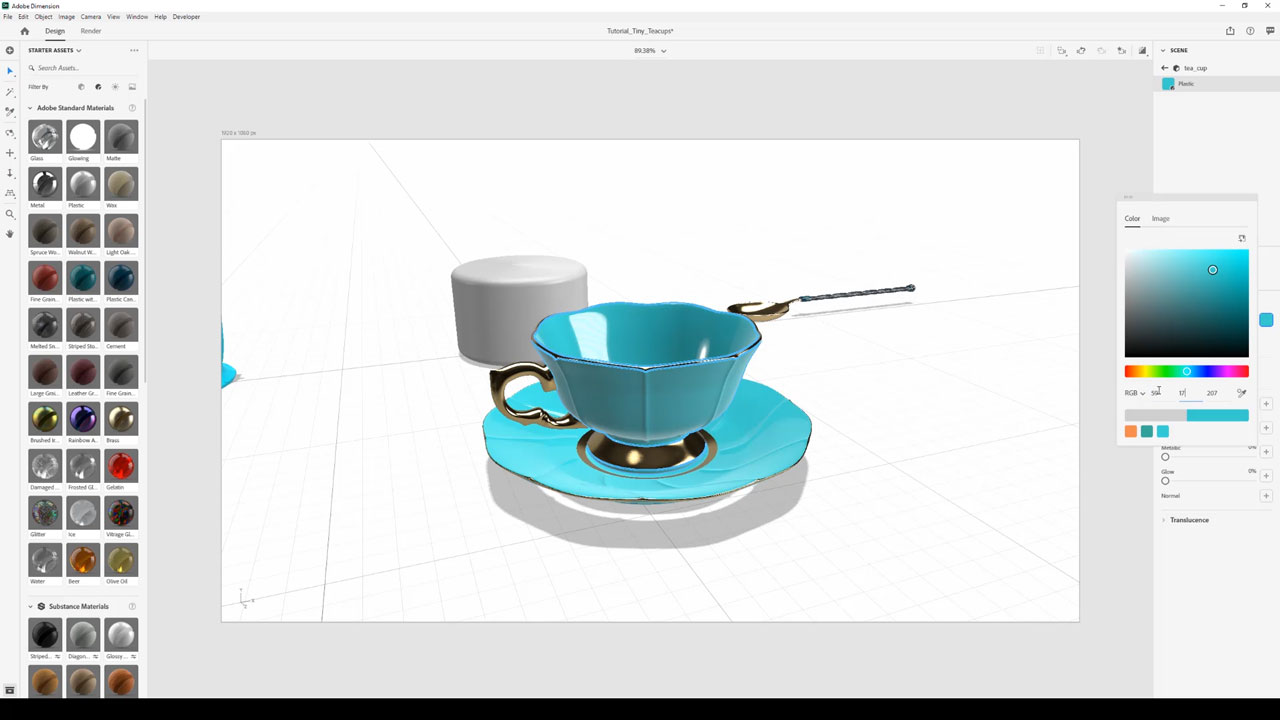
You can customize the materials and colors on the teacup. Go to the vintage teacup model in the Scene Panel and select both “saucer” and “tea_cup.” Click on the Plastic material under Adobe Standard Materials in the Asset Panel (filtered by Materials). To modify the color, click on the arrow to the right of “tea_cup” in the Scene Panel and select Base Color from the Properties Panel. You can change the RGB value to 59, 170, 154 as seen in this tutorial or select a color of your liking.

Step 5
To change the metal on the teacup, follow the same process as Step 4, but be sure to select “saucer_rim,” “handle,” and “tea_cup_rim.” In this case, you will select the Brass material under Substance Materials in the Asset Panel. This tutorial uses an RGB value of 239, 137, 77.

Step 6
To finalize the teacup, change the interior color. First, select “tea_cup” from the Scene Panel. Next, find the Magic Wand Tool in the toolbar and change the size to medium by using the slider. Click the inner part of the teacup to select this area and add a second Plastic material. For the cup scene here, change the roughness to 10% (to make the material less reflective) and use RGB 36, 93, 105.

Step 7
Use the same technique to change the materials and textures (colors) of the spoon, cylinder, and splash. We used a combination of materials already in the scene for a cohesive design and have included an example visual reference of how to customize the splash.
Use the list below to guide your changes to the materials and textures:
- Spoon > spoon_body: Brass material (RGB 230, 128, 69)
- Spoon > ornate_notch: Plastic material (36, 93, 105)
- Spoon > spoon_handle: Plastic material (59, 170, 154)
- Rounded cylinder: Plastic material (36, 93, 105)
- Splash > splash_exterior: Glass material (191, 235, 230)
- Splash > splash_interior: Glass material (182, 237, 223)

Step 8
Now that you've customized a teacup, you can build the composition by duplicating and moving models. To do so, use Duplicate in the right Actions Panel along with the Move (key command V), Rotate (key command R), and Scale Tool (key command S) in the toolbar. Tip: You can also select a model with the Move Tool, then use Option + drag (or Alt + drag for Windows) to duplicate the asset. As you duplicate and move your assets, use the render in this tutorial as inspiration, or design your own composition.

Step 9
Before finishing the design, you need to set up the camera angle. Under Camera in the Scene Panel, you can enter the following properties under Camera Perspective if you want to match our tutorial exactly:
- Field of view: 65 degrees
- Position: X -12.6, Y 8.3, Z 37 (cm)
- Rotation: X 3, Y -19, Z 0 (degrees)
To position the scene to your liking, you can use the Rotate, Dolly, and Horizon Tool. Render Preview (located on the top right header bar next to Camera Bookmarks) helps you visualize how changes might impact your final render.

Step 10
Feel free to change the color on one of the teacups. In this step, we changed the Plastic material to orange (RGB 191, 66, 22) and the Brass material to a soft blue (RGB 80, 174, 239).

Step 11
It's time to add a background color. Select Environment in the Scene Panel. Next, select the Background color in the Properties Panel and enter RGB 80, 174, 239, or move the slider around to a preferred color.
Step 12
This is a good time to add reflections and depth to the 3D scene. Make sure the Ground Plane (found in the Scene Panel under Environment > Properties) is on. For this tutorial, we set the Shadow Opacity at 100%, the Reflection Opacity at 50%, and the Reflection Roughness at 30%.
Tip: Turn on Render Preview to see the changes more clearly.

Step 13
One of the most important elements of 3D rendering is lighting. To start, filter by Lights in the Asset Panel (the sun icon under Filter By) and select an Environment Light of your choice. For this tutorial, we used the Studio Panels Light under Environment Lights and set the Intensity to 90% and Rotation to -79 degrees in the Properties Panel. You can try additional lights and play with rotation and intensity for different looks.

Step 14
For aesthetic reasons, add one more light. In the Asset Panel, choose one of the Directional Lights. These assets have additional properties that allow for a more dynamic environment. Experiment with different settings or add the same lighting properties used in the visual example below.

Step 15
It's time to render your final scene. Click on Render in the Task Bar. Under Render Settings, use the check boxes to select the camera view that you would like to render (if you saved multiple views) or select Current View for your most recent camera angle. Next, choose your render quality. We suggest using Medium to review your final design. Otherwise, select High (Slow) for the best quality. Choose your Export Formats (PSD, PNG, or both) and where you want to save your file. Once done, select Render to see the amazing results.
Dimension render by Jordon Jakusz.