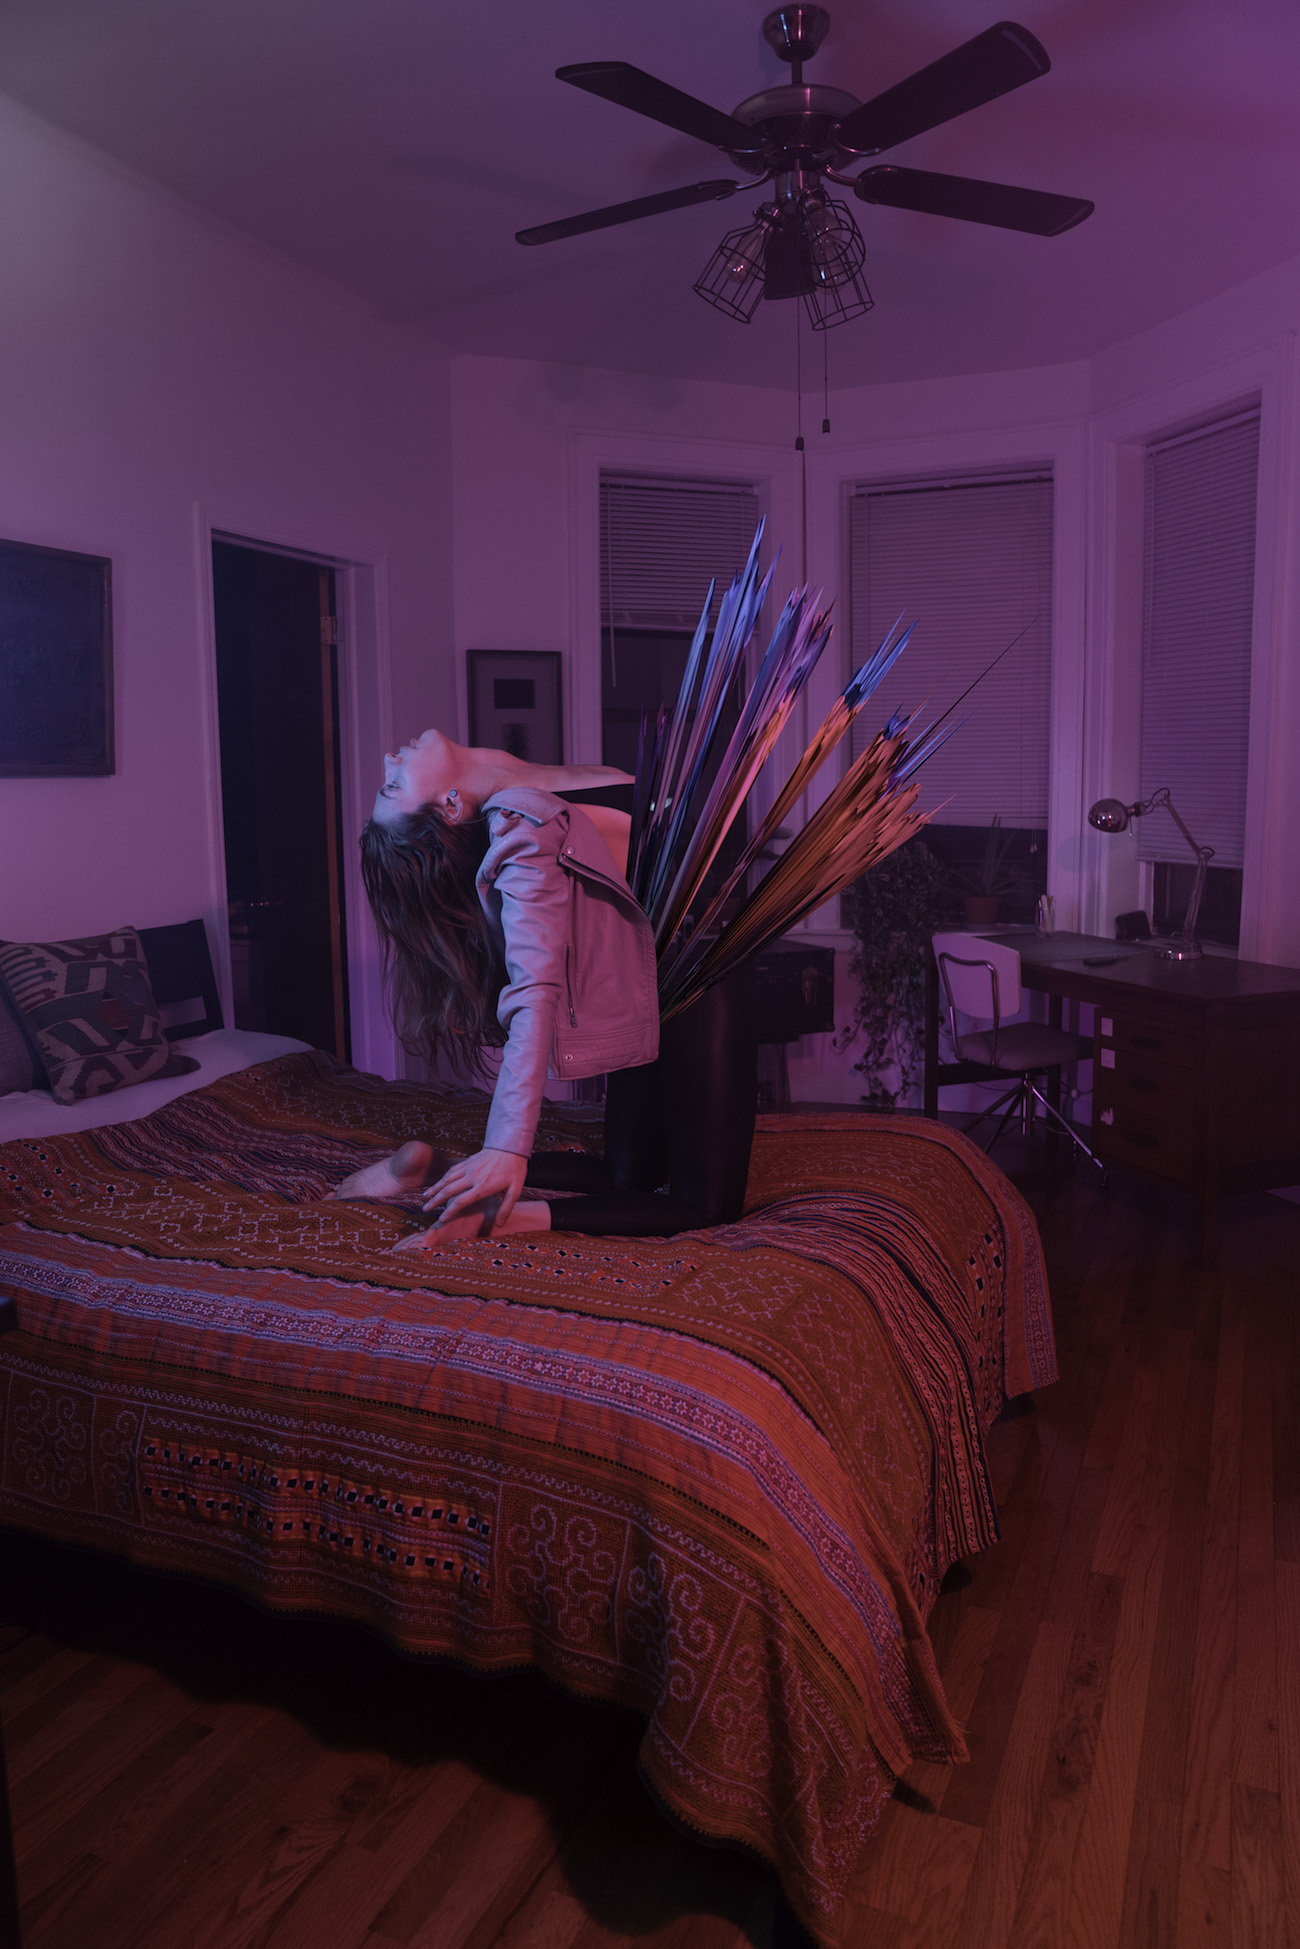
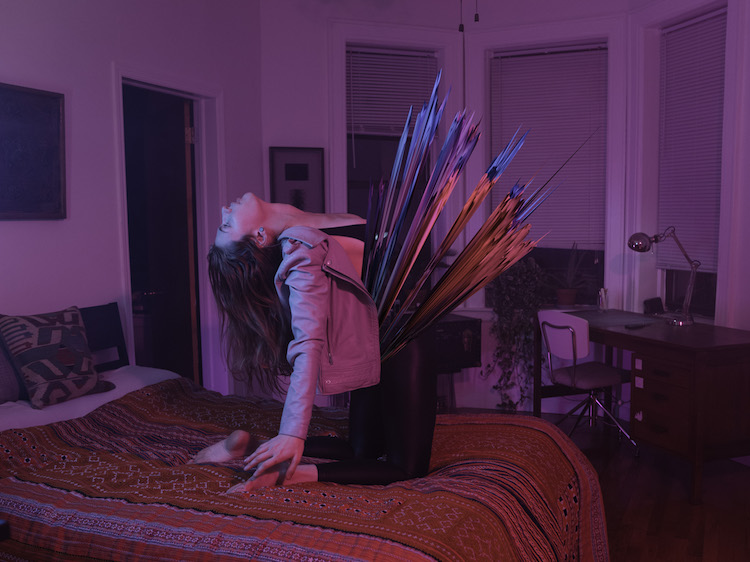
Victoria Siemer, also known as Witchoria, is a visual artist based in Brooklyn, New York. She works primarily in the digital realm, creating quirky, surreal photo manipulations. Watch the video below to meet Siemer at her studio, where she demonstrates the ingenious Adobe Photoshop techniques behind her Exploding Portraits series of images.
Step-by-step instructions are written out below the video.
BEFORE YOU START
You’ll need two photos: one of your scene with your model, and one without the model. Siemer recommends using a tripod so the photos have exactly the same vantage point.
She also suggests starting with small document dimensions (2000px wide, for example) while you’re experimenting with her technique in Adobe Photoshop. The larger the document, the longer it will take to render the 3D element at the end of the process.
STEP 1
Place both images in a document, on two separate layers, with the model photo on the upper layer.
STEP 2
With the upper layer selected, use the Lasso tool to make a rough selection of an interesting area of the model’s body. Copy and paste that selection onto a new layer.
STEP 3
With the new cutout layer selected, go to 3D > New Mesh From Layer > Depth Map To > Sphere to create the explosion. Use the 3D Mode object tools to move, rotate, and scale it.
STEP 4
Once you find an angle you like, you can edit the lighting on the object to remove the unconvincing shadow it casts on your image. In the 3D layer’s Properties panel, choose the Scene tab, and deselect the Shadows option to turn them off. This also makes the depth map more vibrant.
STEP 5
With the 3D layer selected, create a mask, and then lower the layer’s opacity to 50 percent, for better visibility while you work. Use the Eraser tool or the Brush tool to mask out areas, using the X key to toggle black and white. Add to and subtract from the mask to make the explosion look like it’s emerging from the model’s clothing.
STEP 6
To emphasize the fragmentation of the explosion, switch to the Polygonal Lasso tool. Use it to draw triangular shapes; then press delete to mask them out. (Tip: if nothing happens when you press delete, you may have the wrong foreground color selected. First tap the X key to swap black and white, and then press delete.) When you’re finished, increase the layer opacity back to 100 percent.
STEP 7
In the Layers panel, select the layer with the photo of the model. Mask the areas between the spikes to reveal the background.
STEP 8
Finally, right-click on the 3D layer and choose Render 3D Layer.
It may take a few minutes to finish, but then you’re done!

If you want to see more of Witchoria’s cool Brooklyn studio, check out our extended version of the video.
April 3, 2019
Video producer: Erik Espera
Article text: Erica Larson


