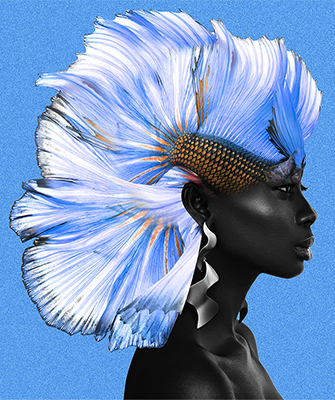

Combining elements from multiple photographs into one image allows you to create something new and unexpected. In this quick tutorial, learn how visual artist Temi Coker combines two photos in Adobe Photoshop to create an image that stretches the imagination.

Former Adobe Creative Resident Temi Coker is a Nigerian-American visual artist who finds joy in merging photography and graphic design; his goals in life are to create and to educate others on how they can merge those media.
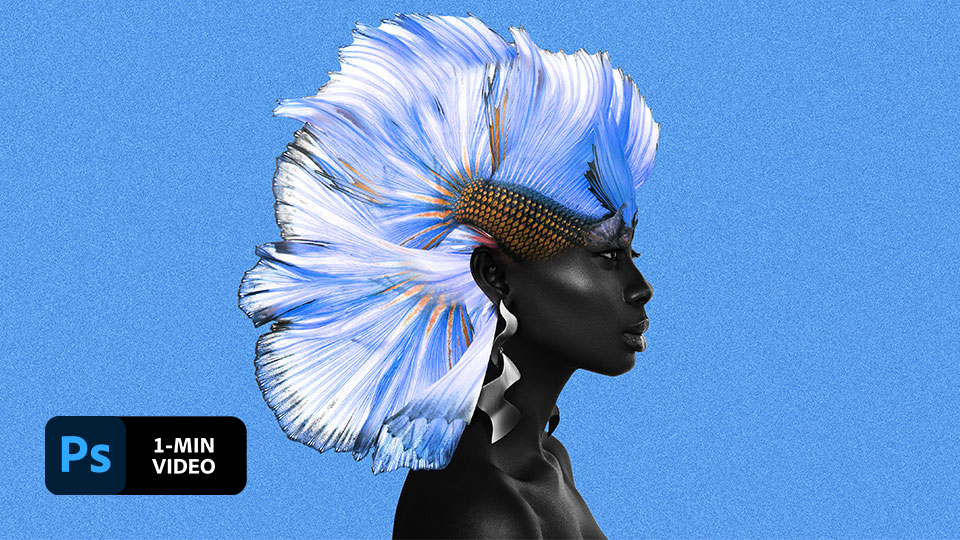
Take a one-minute look at Coker’s process—the steps are written out below.
BEFORE YOU START
Use these sample images if you’d like, or practice with your own.
STEP 1: PREP YOUR IMAGES
Start by dragging the image of the betta fish into the Photoshop document as a new layer on top of the image of the model.

STEP 2: ADJUST THE POSITION
Using the transform controls, rotate and position the fish wherever you want. Next, right-click on the fish and select Warp to manipulate it further.

STEP 3: REVEAL THE FACE
Select the fish layer and click on the Layer Mask icon to create a mask. Coker used the Brush tool with black selected to allow areas of the model’s face to show through.

STEP 4: REPEAT THE STEPS
Drag the betta fish again to add another layer; then follow the previous steps to position the additional fins to create flowing “hair” on the model. Coker alternated turning layers on and off to edit in isolation; you can experiment the same way or view the composition in its entirety.

KEEP YOUR IMAGINATION FLOWING
Experiment with unlikely pairings to create striking new compositions.

Note: Project files included with this tutorial are for practice purposes only.